• Enter your email address to subscribe to this blog and receive notifications of new posts by email.

    Join 241 other subscribers
  • Noshing on

    raw blueberry pie with microwaveable filling and graham cracker crust

    This mostly-raw blueberry pie is a snap to make and very versatile--the filling microwaves in a few minutes, and you don't even have to bake the zippy gingered graham cracker crust--perfect for a hot Fourth of July and all summer long.

  • Recent Posts

  • Contents

  • Archives

  • Now Reading

  • See also my Book Reviews

  • Copyright 2008-2024Slow Food Fast. All writing and images on this blog unless otherwise attributed or set in quotes are the sole property of Slow Food Fast. Please contact DebbieN via the comments form for permissions before reprinting or reproducing any of the material on this blog.

  • ADS AND AFFILIATE LINKS

  • I may post affiliate links to books and movies that I personally review and recommend. Currently I favor Alibris and Vroman's, our terrific and venerable (now past the century mark!) independent bookstore in Pasadena. Or go to your local library--and make sure to support them with actual donations, not just overdue fines (ahem!), because your state probably has cut their budget and hours. Again.

  • In keeping with the disclaimer below, I DO NOT endorse, profit from, or recommend any medications, health treatments, commercial diet plans, supplements or any other such products.

  • DISCLAIMER

  • SlowFoodFast sometimes addresses general public health topics related to nutrition, heart disease, blood pressure, and diabetes. Because this is a blog with a personal point of view, my health and food politics entries often include my opinions on the trends I see, and I try to be as blatant as possible about that. None of these articles should be construed as specific medical advice for an individual case. I do try to keep to findings from well-vetted research sources and large, well-controlled studies, and I try not to sensationalize the science (though if they actually come up with a real cure for Type I diabetes in the next couple of years, I'm gonna be dancing in the streets with a hat that would put Carmen Miranda to shame. Consider yourself warned).

Color and Taste

We have a week and a half before Passover, and I’ve been experimenting a little with the foods I have to use up before then–flours, beans, lentils and spices.

I also–help! got “gifted” an awful lot of leftover vegetabalia from my daughter’s youth group director after last week’s major fundraiser, a huge Harry Potter-themed congregational dinner (Fantastic Feasts and Where to Find Them, still quite a popular title) that brought in nearly 200 diners and was frankly amazing.

bulk sacks of celery and onions

This is just the smaller bag of onions, along with way too much celery…

I managed to donate an entire 25-pound sack of onions to a local food pantry, but got another 10 pounds as a reward, along with two caterer’s packs of organic celery–that’s six full-sized heads–a huge box of organic mesclun that leaked horrible brown liquid in the shopping bag, so I composted it rather than trying to use any.

too much garlic

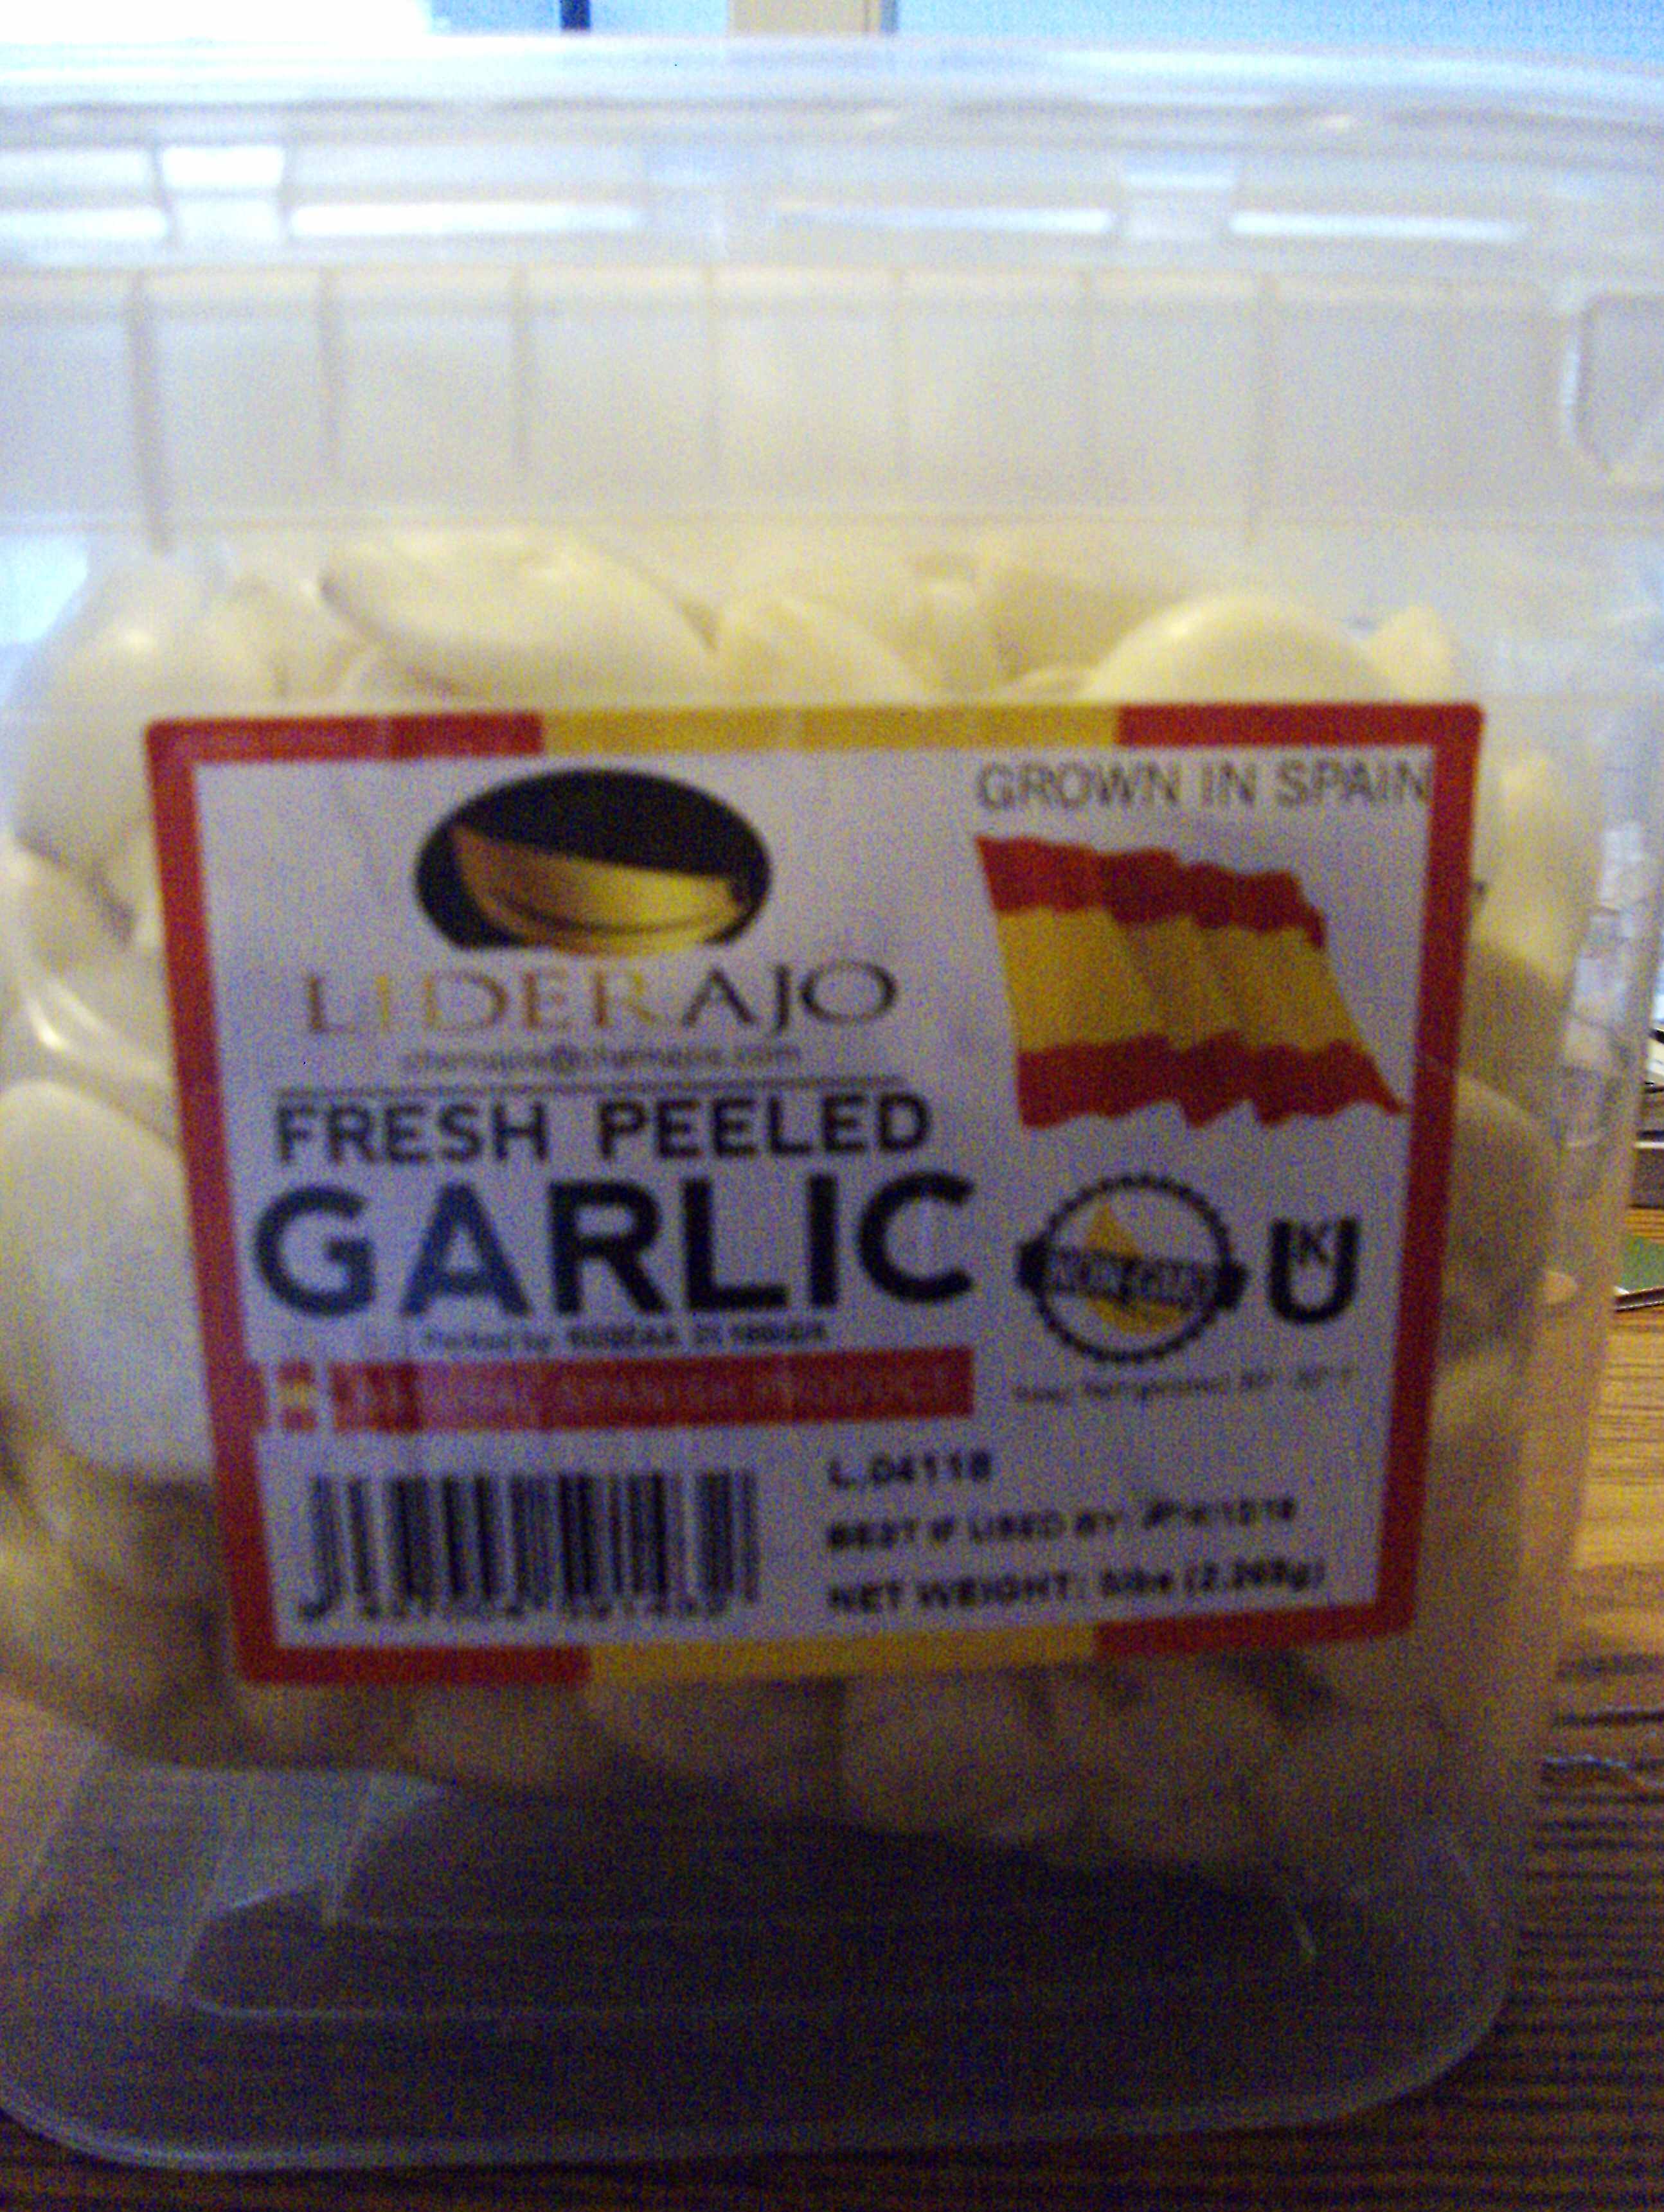
Worst of all….a 5-pound box of peeled garlic cloves. Which looked well-sealed and fine if ridiculous.

I looked squint-eyed at the youth director, who had such a hopeful wheedling expression on her face:  You like vegetables, you believe in garlic, could you please, please take it? Please?

Oy. By the end of a 10-minute ride home it was definitely reeking up my car. Why? Because the garlic cloves themselves were prepeeled, which always seems like such a bright idea to caterers and those who aspire to buy big. They were also machine-peeled, so some were cut into, hence the reek. And I mean, 5 pounds? I grabbed a modest handful of uncut cloves, rinsed them carefully, stuck them in a baggie and froze them. I had to toss out the rest of the box immediately. In the outside trash bin. Well wrapped.

In using the few cloves I kept, I’ve discovered I’m not wrong–looks really aren’t everything. The garlic itself, fresh or frozen, is impressive in size but very different from the usual small tight heads of garlic I buy for myself–harsher and yet less intense, lacking the warm flavors that make garlic garlic to me. So I’m going back to the real thing, peels and all.

In the meantime, I’ve been practicing my microwave not-chicken soup skills, along with testing the microwaveability of matzah balls–yes, you kind of can, they just won’t be spherical–which means we may all be sick of soup by the actual seder. Oh, no!

And while distracting myself from doing taxes, I’ve been looking for inspiration on another library cookbook binge. I drift by the New Books section and get caught by the new cookbooks with all the pretty colors–purple soup? red and yellow nasturtium blossoms on a salad? Bright green or pink or charcoal-gray (literally, as it turns out, using bamboo charcoal powder) shu mei wrappers?

As with the caterer’s box of garlic, though, looks can be deceiving.

I snatch up the books; I check them out, I lug them home and marvel at all the photographic bravura on my desk. Most of them are unexecutable in my kitchen because I don’t have a stick blender or enough counter space to do the fancy dim sum wraps justice. And some of them feature pork belly or crabmeat or other unkosher items.

Mostly, I look through the ingredients list and wonder mightily if they actually taste as impressive as the colors suggest, or if it’s all just for Instagram-worthy photos.

Love Italian Food (Maddalena Caruso, 2014) is a good case in point. Gorgeous photo of three technicolor puréed soups–cauliflower, broccoli, red cabbage with purple potato. I’m stunned by the purple velouté. But reading through I get cautious and skeptical. I want cream of red cabbage soup to taste amazing if it’s going to be that color and topped with a pale-jade romanesco floret. Caruso says it tastes peppery from the red cabbage; she adds purple potatoes for body and further color, some chicken broth, salt and pepper. She simmers the cabbage only 10 minutes or so before blending–hopefully that keeps it from going sulfurous. It might be good. It might be too subtle for me. I might have expected some lemon for the mild acidity that will keep the cabbage pigments from turning blueish-green. Or basil and garlic pesto. Maybe something smoky–smoked paprika? Or hot peppers and toasted sesame oil? Something.

I nuked a wedge of chopped red cabbage one recent afternoon to test the concept. It wouldn’t really blend smoothly in my food processor, and on its own, the purple mash smelled distinctly sour and a bit dank, lightly cooked as it was. It might combine well with other ingredients, but it wasn’t obvious that it would. Continue reading

Microwave Tricks: Make-Ahead Stuffed Shells

Stuffed shells in the microwave

Stuffed shells (shown here with plastic wrap for the fridge) cook up really quickly and easily in a microwave

This was the second try at a quick supper while juggling too many other things at once. The first half box of pasta shells I cooked in the microwave as I usually do but they ended up staying in the water much too long while I was busy elsewhere (lecturing my kid about waltzing out of the house without letting us know–Oy! I thought we had this down by now, but 10 is 10, with a lot of eye-rolling and forgetfulness and sudden impatience for all the ordinary rules).

When I returned to the kitchen, the bowl of shells had long since cooked, softened, soaked and turned to pasty shell-shaped mush–too far gone to rescue. Bleagghhh…I threw them out and started over. Luckily, a microwave cuts the time it costs to boil the water for a new batch, and I’d already made the stuffing and had some tomato sauce ready. This time, I decided to pay attention, and it came out fine.

If you have fewer distractions or better time sense than I do so you can catch your pasta before it falls apart, you can put together a number of good filled pasta casseroles like this one all (or at least mostly) by using your microwave, and they might take less than half an hour from start to finish. Two other examples–the very similar spinach lasagne I make with eggroll wrappers (same spinach/ricotta/feta filling, same microwave marinara but don’t cook the eggroll wrappers before layering them, and use two wrappers at a time, since they’re so thin), or even butternut squash or sweet potato ravioli with wonton or gyoza wrappers and a mozzarella-based cheese sauce. Once the shells are cooked al dente (still a little chewy, but not hard), the dish goes together in about 5 minutes and cooks just to heat it through.

Stuffed Shells in the Microwave

  • 1/2 lb or so dried large pasta shells for stuffing (about 20 shells or 1/2 box)
  • 1 recipe Microwave Marinara or about 1 c. of your preferred tomato sauce
  • pinches of fennel seed, dried or fresh thyme or oregano, and/or hot pepper flakes
  • shredded mozzarella for topping (optional)

Filling:

  • 2 c. low-fat or skim ricotta
  • 2 oz. or so crumbled feta
  • 1/2 lb defrosted/cooked spinach
  • 1/4 onion
  • 1 fat clove garlic, grated, minced or mashed
  • a few leaves shredded basil and/or thyme or marjoram
  • pinch or grating of nutmeg
  • 6-8 microwave-marinated artichoke hearts, optional

Put the shells in a big pyrex mixing bowl (2.5 qt or liter), fill with water to about 2 inches above the shells, cover with a microwaveable plate and microwave on HIGH about 9 minutes, or until the water is bubbling but not boiling over. Leave the shells in the microwave another 5 minutes to absorb and check for doneness–you may need another 2 minutes or so. When they’re just cooked through but still firm, drain them gently so they don’t tear apart.

In the bottom of a microwaveable casserole (in my case, a pyrex deep dish pie plate), spoon about 1/4 c. tomato sauce and spread it around. Sprinkle on the fennel seed, oregano and/or hot pepper flakes if using, or just mix them into the sauce before you start.

Mix all the filling ingredients together by hand. Stuff each shell with a soup spoonful of the filling and set it in the casserole–you can fit about 20 stuffed shells into a deep dish pie plate, maybe more if you pack them tighter than I did. Carefully spoon the rest of the sauce between the shells and if it seems too dry on top or your shells are parcooked and kind of stiff, drizzle a few spoonfuls of water, maybe 1/4 c. total, on the sauce but not on the shells themselves. If you’re using mozzarella to top the shells, sprinkle it on now and add a pinch of oregano if you like it. Cover the casserole with a microwaveable plate or lid and microwave 7-8 minutes on HIGH or until heated through. The cheese should be melted on top and the shells should be tender.

You can reheat the casserole the next day very easily–check to see if it feels dried out at all, and drizzle in a tiny amount of water (spoonful or so) if it does, then cover with a microwaveable plate and heat for 5 minutes on HIGH.

DIABETIC/CARB COUNT NOTES:

Barilla says their shells are 37 grams of carbohydrate per 5 shells, or about 7 grams apiece. Ricotta has about 3-4 g. carb per 1/4 c. serving (about 2-3 shells’ worth), so for 5 shells maybe 5-7 g. carb. If you use my microwave marinara, it has just tomatoes and a bit of onion, none of the commercial added sugars or starch thickeners, so negligible carb count per serving.

Total: about 45 g. per 5 shells, or about 8-9 g/shell.

Italian Impromptu: Not Bad for an Actor (and Son)

"Don't Fill up on the Antipasto" by Tony and Marc Danza on Amazon.comDon’t Fill Up On the Antipasto by Tony and Marc Danza (Scribners, 2008)

I wasn’t expecting very much from a celebrity cookbook–mostly schmooze, a few loosely slapped-together recipes. I wasn’t actually wrong, but aside from a little kitsch here and there, and a dopey, gushy foreword from Jackie Collins, Don’t Fill Up On the Antipasto is a better-written, more down-to-earth read than you might think. Instead of a prolonged bout of “Remember me? I used to play —- on Taxi!” drivel (though there is a little; practically obligatory in a celeb cookbook), it’s mostly a Brooklyn childhood memoir with old-style Italian recipes–a throwback to the 1950s and 1960s, but a version that didn’t make it on-air in all those 1970s sitcoms.

Although the book is co-written with his son, with a few asides to Marc for his “modern” Southern California-style recipes and confirmation of one or another family anecdote (and repeat photos and mentions of the all-important toddler grandson), most of the stories and recipes are Tony’s.

Danza’s stories of his childhood in Brooklyn are the real draw for this book. He grew up in the postwar generation, at a time when children were given a lot less privilege and a lot less stuff, spanked a lot more often (and not just by their parents–any family member had authorization), and expected to be much more self-reliant at younger ages than they are today. The uncles and aunts and grandparents all lived close enough to see each other every week, and their personalities (and recipes, and foibles, and jokes, and tempers) feature prominently in the book. The result is a look back into a simpler, more direct, and often warmer way of family life than the one most of us recognize today, even if we’re old enough to remember it.

Danza was not born into a down-and-out family, certainly not for the times right after World War II. His parents were working-class, first-generation American, and when his father came home from the war with a Bronze Star, he went to work as a city garbageman. Unlike today, it was a respected job that could support a family. Instead of jeering, the neighborhood kids envied Danza for getting to ride down the street in his father’s truck. The family sent him to a Catholic parochial school and expected him to work hard at his studies, stay out of fights and gangs, and go into a profession.

It was the typical pattern for immigrant families almost anywhere in New York at that time and very close to my parents’ childhoods. Right down to the Army photo of Danza’s father, which suddenly appeared in the middle of the book and startled the hell out of me. Except for the face and the specifics of his uniform, Matty Iadanza’s official Army portrait with its distinctive Continue reading

For recipe sodium counts, better do your own math

Another Martha Rose Shulman recipe for a peanut sauce to go with soba and other noodles appears in today’s NY Times “Recipes for Health” column. Which would be fine but the nutrition counts below it don’t add up–at least for sodium. She’s specified unsalted peanut butter–but has 1 or 2 tablespoons of regular, not low-sodium, soy sauce at 1200-2400 mg sodium, and not low-sodium but regular or unspecified vegetable or chicken broth, both of which are pretty loaded, so anything from 150-750 mg per cup. If you look down to the nutrition counts, though, each of 4-6 servings is supposed to be 150 mg of sodium. How? In my daughter’s 4th grade math text, ~3000 mg for the total recipe at the higher options (650-750 mg broth, 2400 for 2 T soy sauce)  would give you 500 mg for 6 servings. For 4 servings, it would be 750. The best you could do would be the lower-sodium options for 1350ish in the total recipe, so about 350 mg. per serving.

On her own web site, Shulman claims not to care about sodium counts when she creates new recipes or adapts old ones (not clear how she can claim that makes them recipes for health), so perhaps this is one column to take with(out) a grain of salt.

Cheese sauce, better than instant

Cheddar cheese sauce, easier than instant

This cheddar cheese sauce for pasta or vegetables goes together beautifully in about 5 minutes from start to finish, and tastes like cheddar with savory accents, not processed cheez-flavored glue. None of the ingredients come from a box.

And on the other hand, you don’t have to make a roux of butter and flour first, you don’t have to stir out the lumps when you add the milk, and you don’t have to worry about grating your knuckles in with the cheese. Give this one a try.

Home made 5-minute cheddar cheese sauce

  • 2-3 oz sharp or extra-sharp cheddar
  • 1 oz low-fat mozzarella (optional)
  • 1/8 to 1/4 med yellow onion
  • small clove garlic, minced/grated/mashed
  • 2 T (heaping soupspoonful) flour
  • 1 c. skim milk
  • grating or pinch of nutmeg

Grind the cheese, onion, garlic and flour in a blender or food processor until the cheese and onion are finely grated. Blend in the milk. Pour the mixture into a saucepan or frying pan and heat on a medium flame while stirring with a spatula or wooden spoon. The cheese will melt and the flour and milk will thicken within a minute or so. Grate on the nutmeg, stir in, serve over pasta or broccoli-type vegetables. If you have to wait for the pasta or vegetables to finish cooking, take the sauce off the heat as soon as it comes together, and reheat a moment or two while stirring to revive it once you’re ready to serve.

Real Soba

Happy New Year! The LA Times just published a feature on New Year celebrations in Japan. The  December 30th article on making your own soba or buckwheat noodles has instructions and demo pictures from a professional soba chef–and the traditional recipe contains…no salt. At all. Contrast that with any of the store-bought brands here in the U.S. It also has a lot more buckwheat than the store-bought types, using a ni-hachi (2:8) proportion of wheat to buckwheat, so it probably has a lot more buckwheat flavor. Worth a try, and if you’re not sure you know how to knead to the right texture by hand, you might be able to knead the dough in a food processor to get it very smooth and elastic before rolling it out.  Traditional Soba from the LA Times

The dipping sauce recipes that accompany the soba article are no bargain sodium-wise, and they contain a lot of sugar as well as a lot of soy sauce mixed in with the dashi stock, but at least the noodles themselves aren’t adding to the problem. You could use low-sodium soy sauce and less of it; you could also decide not to follow tradition and use a different dipping sauce with more substance and less reliance on salt and sugar for flavor. Here are two possibilities (quantities are loosely something like half a cup to a cup). Neither is Japanese but they both taste good with soba.

Dipping Sauce for Jao Tze (why not, it’s good with soba too)

  • 1/4 c. low-sodium soy sauce
  • 1/4 c. vinegar–red wine, apple cider, or rice vinegar
  • dollop (~1-2 T.) dark molasses–this takes some stirring to mix with the thinner liquids
  • ~1/2 t. grated ginger
  • 1 scallion fairly finely chopped
  • few drops toasted sesame oil
  • 1/4 t. dab of z’khug or a bit of minced garlic, some hot pepper flakes to taste, and a bit of chopped cilantro if you have it

Peanut Curry Sauce

Serve this sauce cold or at room temperature to avoid the yogurt breaking down. If you add some lightly nuked or steamed fresh brussels sprouts (they look nice cut in halves) or other cruciferous vegetables and some hard-boiled eggs or tofu on the side, you have a pretty substantial lunch or a light supper.

  • 1-2 T. chunky unsalted natural peanut butter (peanuts only)
  • 1/2-1 c. plain nonfat yogurt (milk and cultures only)
  • 1 t. curry powder (unsalted)
  • 1 clove garlic, mashed/grated/minced
  • 1/2 t. mashed or grated ginger
  • 1-2 T. low-sodium soy sauce
  • juice of half a lime (best), lemon (ok), or 1-2 T. vinegar to taste
  • hot pepper flakes to taste
  • optional additions: scallion, finely chopped; few drops toasted sesame oil; pinch or so of sugar

Microwave tricks: Pasta You Don’t Have to Babysit

Mark Bittman’s post-Thanksgiving look into the brave new world of absorption pasta and Pete Wells’s “Cooking with Dexter” piece in the New York Times yesterday on the virtues of a pot of boiling water have me thinking hard about why neither of them has even tried the microwaves that must be sitting on their counters. Especially Wells, who has not one but two very young and active children to watch out for.

You can cook standard dried or frozen pasta very well in a microwave, with only a few minutes of actual cooking time and almost no need to stay close by. You can cook rice too–and we’re not talking Minute Rice, either. Basmati rice, the queen of difficult rices, cooks perfectly in a microwave.

The setup for microwaving tortelloni

The setup for microwaving tortelloni and other filled pasta

I started cooking pasta in a microwave when my daughter was a toddler. She was pretty active and I couldn’t leave a pot boiling away on the stove to go and chase her–either the pasta or I would have boiled over. By the same token, I had nightmares of her getting over the baby gate and into the kitchen as she got bigger and more impatient. My mother-in-law still has extensive scars from having a boiling pot tip over on her when she was a child, and it’s one of the reasons I decided to try microwaving pasta instead. Even though my daughter is now kitchen-savvy, it worked so well I’ve never been tempted to go back. Continue reading

Spaghetti Squash Too Many Ways

Just half of a microwaved spaghetti squash makes 5 or 6 cups

Just half of a microwaved spaghetti squash makes 5 or 6 cups!

This week my local Trader Joe’s had crates of beautiful–and hefty–spaghetti and butternut squash for less than $2 apiece–on the order of 30 to 50 cents/lb. So of course I got two of each and wobbled out of the store unsure which bag was pulling me down further. And then came the task of cooking them.

One spaghetti squash–a good-sized 5-6 lb. beast–will feed a lot more people than you’d think. It’s got some serious advantages over standard pasta: more fiber, no sodium, some vitamin A and potassium, perhaps fewer calories and carbohydrates per ounce. And it’s incredibly versatile. And you can cook it in the microwave in about 10 minutes rather than spend an hour baking it and heating up the house.

But there’s one big disadvantage–if you cook the whole thing, you have to eat the whole thing. Cooked spaghetti squash doesn’t hold up in the freezer–the strings go flat and shrivelly. And reheating too long can make it wilt as well. So can very acidic dressings.

So the choices are (for a small, moderately but only moderately tolerant family unit):

  • Cook half at a time and store the other half raw and wrapped in the fridge for a few days
  • Cook both halves, use one right away, and store the other half in the fridge for a few days, either wrapped in its shell or else scooped out into a container  (recommended)
  • Give the other half to a friend–but not too good a friend…
  • Cook it all and make it for a big potluck. Maybe people will think it’s innovative and exotic…depends on what you do with it (I don’t so much recommend marinara for this if you’re looking to impress–maybe a peanut-curry sauce or an Alfredo-style sauce with lemon peel, or something involving oyster mushrooms)
  • Cook it all and serve it a couple of different ways over the course of the week
  • Make a couple of the variations ones that taste good cold and eat the leftovers for lunch (recommended)

One important tip (learned the hard way):

The strands grow crosswise inside the spaghetti squash, not lengthwise. If you cut the squash in half the way you would a watermelon, you’ll be cutting the strands into shorter bits–not what you want. Cut the spaghetti squash in half across the middle of the SHORT side, NOT from the stem to the flower end.

If you have kids, let them count the seeds in each half of the squash–it’s a good lesson in plant survival strategies. My daughter and I counted about 80-90 seeds per half and decided to wash, dry and save them for her school’s garden. At this rate, they’ll have spaghetti squash for several years. Note of caution: out of 10 that we thought had been lost down the sink but actually got caught in the drainer, a full 9 germinated, so be careful what you wish for… even commercially grown, these things are very, very determined. But we’re not ready to name any of them “Audrey II”–yet. Continue reading

Taking on “Recipes for Health”

Martha Rose Shulman’s “Recipes for Health” column in the New York Times typically offers quick stir-fry vegetarian fare that anyone can do at home. Shulman is a good and popular cookbook author, and I give her credit for her intentions. But the column reveals some serious flaws in her understanding when it comes to the actual healthiness of the recipes.

First, the recipes never include standard nutritional breakdowns. I wouldn’t expect that for glamor food magazines, but any major newspaper or magazine claiming “healthy” recipes should declare the nutrition stats per serving so people can gauge calories, fats, carbs, fiber, and especially, because we’re not used to thinking consciously about it these days, salt.

And salt is where Shulman’s recipes go seriously wrong. Time after time, they contain surprisingly and unnecessarily high salt per serving. Where does it come from? Take this week’s recipe, “Stir-Fried Snow Peas with Soba”. It’s basically Japanese whole-wheat noodles (soba) with snow peas and tofu in a peanut sauce, and serves four. Seems simple enough, but the ingredients Shulman chooses are hiding an awful lot of extra salt:

* You expect the soy sauce to contain salt. OK. It’s only a tablespoon. But it isn’t the reduced-sodium version–and why isn’t it?–so figure  1200 mg.
* Half a cup of vegetable or other broth–also not specified low-sodium. Figure 250-500 mg sodium; maybe even more.
* Salt “to taste”–TV chefs tend to sprinkle in a pinch or more. Figure 1/8-1/4 teaspoon, 300-600 mg, if you imitate them.
* Peanut butter. Not specified unsalted. Figure 1 tablespoon is 100 mg.
* And then there’s the soba itself. Ordinary Italian-style whole wheat spaghetti or fettucine has almost no sodium in it, just flour and water, but authentic Japanese soba dough contains quite a bit, 250 mg or so per serving. Times four is about 1000 mg.

Grand total for 4 servings: 2300-2800 mg, or 600-700 mg sodium per serving.

If that’s your whole dinner, ok, but most of that sodium could easily be cut without sacrificing taste. Plus, two ounces of snow peas per person isn’t enough to call it vegetabalia and get away with it in my book. You’ll notice that the glossy photo in Shulman’s article shows a generous two snow pea pods, a few slices of radish, and none of the promised cubes of tofu–her version’s a side dish, not a proper meal. Let’s revise this one.

Continue reading

Sweet Potato Ravioli

A couple of posts ago I mentioned wanting to try making pumpkin tortelloni at home. For some reason, reasonably large butternut squash seem to be evading my usual grocers this season, and they’re fairly expensive. Similarly, no fresh pasta sheets under $5 a packet…and I didn’t know how to make my own very well or want to spend that kind of time. But yams are in, and some of them are nearly the size of footballs. And I found a packet of round gyoza (alternate spelling for jao tze?) wrappers next to the squares for wontons and eggrolls in the supermarket. With my usual impatience, I decided to go for it.

The result was pretty good–a bit simpler than Colosseo’s tortellini in saffron cream, and certainly a little less rich, but definitely good, and not too much work once I figured out what I wanted. From start to finish, including all the dithering, it took me about an hour to prepare and assemble everything. And I cooked it successfully in the microwave, always a plus in my book.

So here goes:

Sweet Potato Ravioli (or yam; everyone gets those mixed up, even the grocers, and it really doesn’t matter that much)—4 big servings or 6 small ones

Packet of Gyoza/Jao tse or won ton wrappers, or your own pasta dough cut in 2″ diameter circles or squares, as you prefer.

Filling:

  • 1 huge yam or two normal baked-potato-sized ones
  • 1/4 medium red or yellow onion, chopped reasonably fine
  • small clove of garlic, minced or grated
  • few sprigs of thyme or sage
  • grating of nutmeg and lemon peel (~ 1/8 to 1/4 t. each, or a bit more)
  • 2 T or so goat cheese, ricotta, or feta, optional

1. Scrub the yam(s). Peel and if not too hard to cut, cube the flesh. Place in a covered pyrex bowl or microwaveable container with 1/4″ water in the bottom. Microwave on high about 5 min. The yam(s) should be fork-tender. If they’re still tough, turn them, cover again, and give them another minute or so. Then drain off the water and mash them a bit.

2. Fry the chopped onion and herbs in a little olive oil to start browning them, add the garlic and the yam, and toss to brown a little more. Take off the heat, stir in the cheese if using, and grate nutmeg and a bit of lemon peel into the mixture.

Cheese Sauce:

  • 1 T (heaping) flour
  • 1 T olive oil
  • 1-2 c milk (I use skim, use what you have)
  • 1 clove garlic mashed, minced or grated
  • 1-2 T shredded basil
  • 2 oz lowfat mozzarella, in small pieces
  • grated nutmeg and lemon peel to taste

1. Make a roux with the flour and olive oil in a nonstick frying pan–stir them together while heating for a minute or so until the mixture bubbles slightly.

2. Turn off the heat and add the milk a very little at a time while mixing with a spatula to make a smooth paste that eventually thins out without lumps.

3. Reheat the pan, stirring in the mozzarella, basil, nutmeg and lemon rind. The mixture should thicken as it nears a boil and the cheese should melt and incorporate. Turn off the heat.

Assembly and cooking:

Have a pyrex pie plate or casserole with a microwaveable lid ready to hold the ravioli. Put water in a soupbowl and separate the wrappers out on a plate.

1. To stuff the wrappers, dip a wrapper in the bowl to wet it on one side, then place a heaping teaspoon of filling in the middle of the wet side and fold the wrapper into a half-moon, pinching the edges together to seal them and squeezing out any air as you go around. Set each filled ravioli with the curved, pinched edge standing up in the pie plate. Fill as many wrappers as you can–it might be about 20 ravioli or so–and arrange them as best possible in a single layer in the pie plate. Store any remaining wrappers in a plastic sandwich bag in the freezer.
2. To cook, carefully pour a scant 1/4″ of water into the bottom of the pie plate between the ravioli. Cover the pie plate with a microwaveable lid and microwave on high for 2 min. to steam the ravioli somewhat and prevent raw dough on the bottom–never a nice surprise. If your lid is thick pyrex, you might need a little extra time, but check first–the dough should be turning translucent and cooked-looking. If it needs more time, take a soupspoon and run it with a little water over the tops of the ravioli to prevent scorching before covering and microwaving another 30 seconds or so.
3. Then uncover and spread the thickened cheese sauce over the entire plateful of ravioli, filling in the cracks where possible. Cover again and microwave 5 min. on high.